It includes 4 parts:
Part 1. How to rip DVD to iPod/iPhone/Sansa/PSP/Zune and other MP4 and MP3 Players
Part 2. How to convert all video to MP4, AVI, FLV, 3GP, WMV, MOV, MPG, RM, RMVB, MKV, VOB…
Part 3. How to transfer music from iPod to computer, computer to iPod, iPod to iPod.
Part 4. How to make your own iPhone ringtone for freeBelieve or not, to do the things above what you need is download Aiseesoft
DVD Software Toolkit and few clicks.
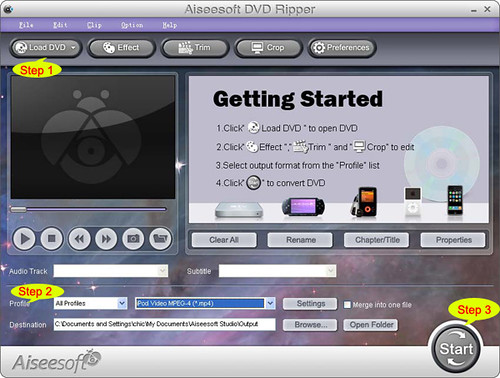
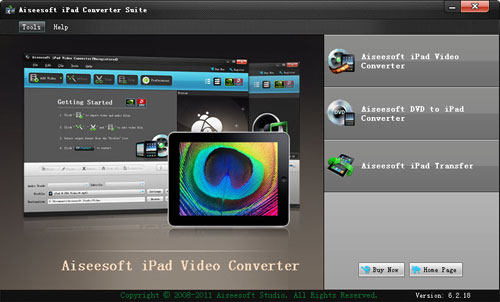
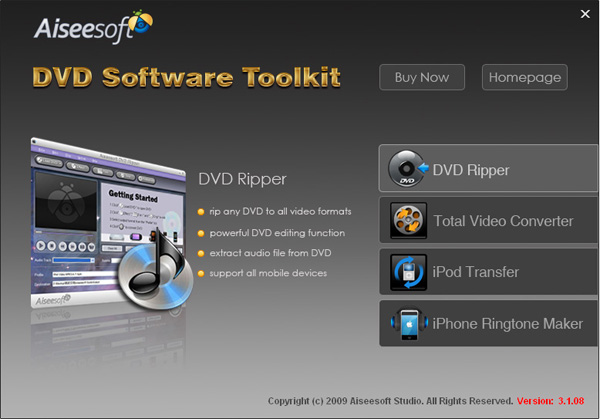 Part 1. How to rip DVD to iPod/iPhone/Sansa/PSP/Zune and other MP4 and MP3 Players.Step 1.
 Click “DVD Ripper” on the main interface to run Aiseesoft
DVD Ripper.
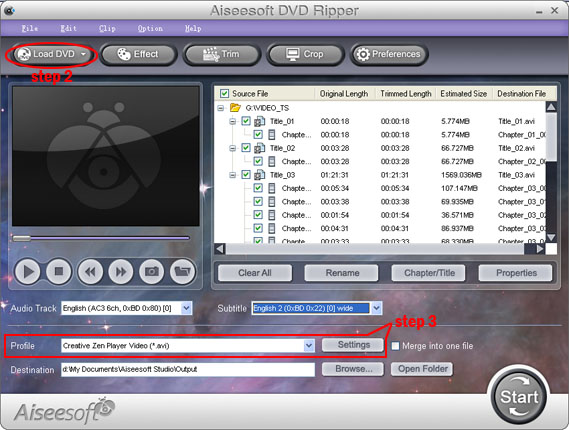 Step 2.
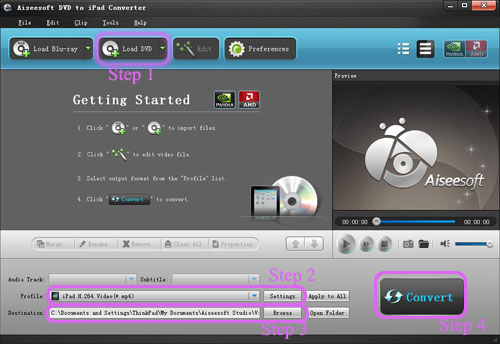
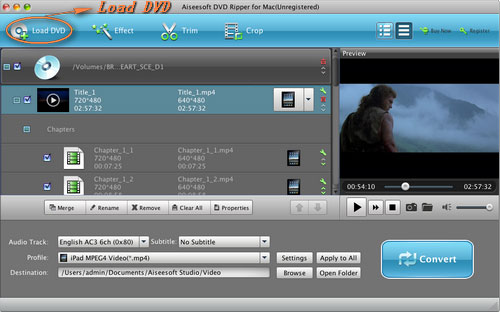
 Open your DVD Drive and put your DVD in it, then click “Load DVD” and choose “Load DVD” to load your DVD into this best DVD ripper.
Step 3. Choose your output format from the “profile” drop-down list. This best DVD ripper provides you so many formats that out of your expectation, such as “iPod video MPEG 4 (*.mp4)”, “iPhone 3G MOV 640*480 (*.mov)” and so on.
After you choose your output format, you can adjust your output video’s settings, such as “Resolution”, “Frame Rate”, “Bitrate”, “Sample Rate” and so on.
Click “Start” now to begin your conversion and you will get your video soon.
To make your output movie more enjoyable you can do some editings to it through this best DVD ripper. You can choose a part of your movie to convert (trim), remove the black edges of your DVD movie (crop) and also adjust the effect (effect) and select subtitle and audio track.
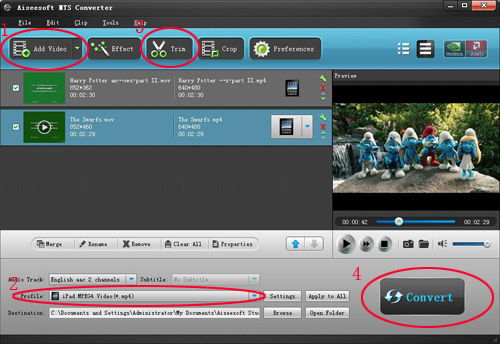
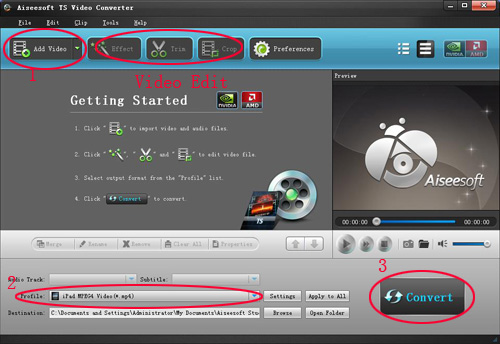
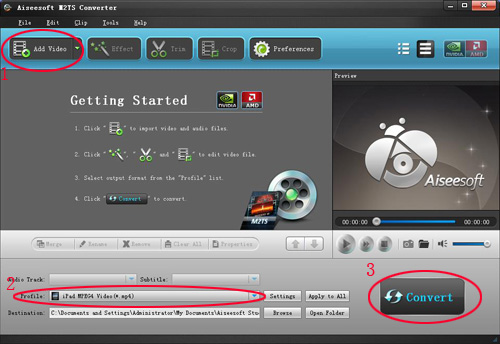
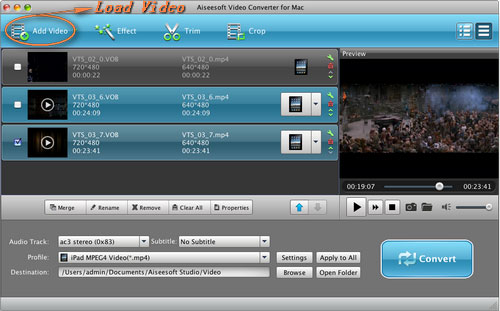
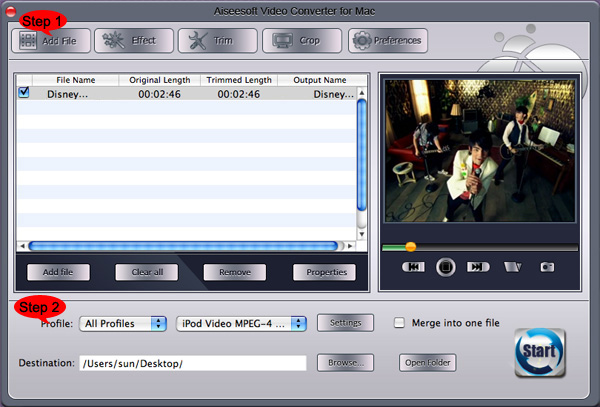
Part 2. How to convert all video to MP4, AVI, FLV, 3GP, WMV, MOV, MPG, RM, RMVB, MKV, VOB…Step 1. Click “Total Video Converter” on the main interface to run Aiseesoft
Total Video Converter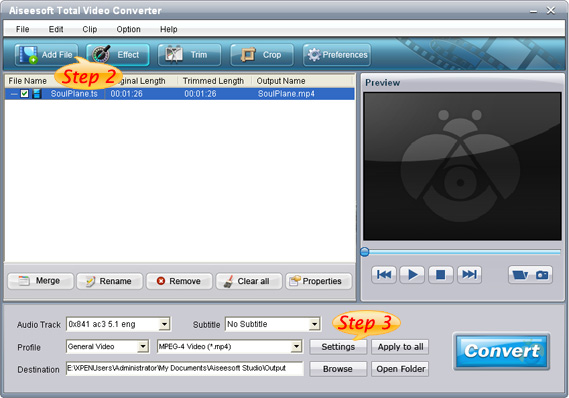 Step 2.
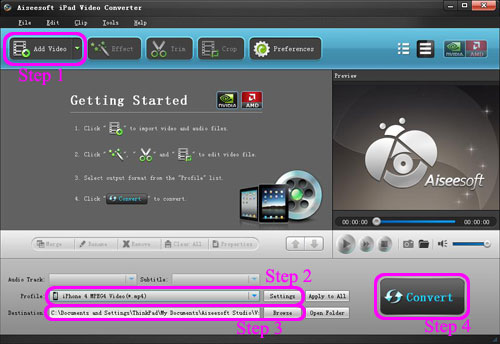
 Click “Add File” to load the video you want to convert.
Step 3. Choose output format by clicking “profile” and customize your own output video by
clicking “settings” to adjust the Resolution, Frame Rate, Bitrate and so on.
Before you click “Start” to begin your conversion, you can do some editing works, such as pick up a part of your video to convert(trim), choose your own play region(crop) and put two or more files into one.(merge into one file).
OK, now you can begin your conversion
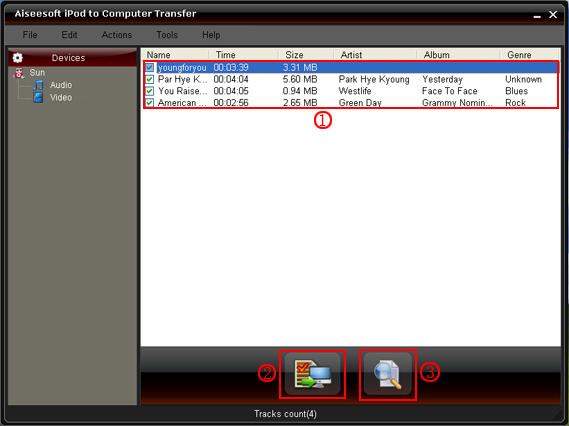
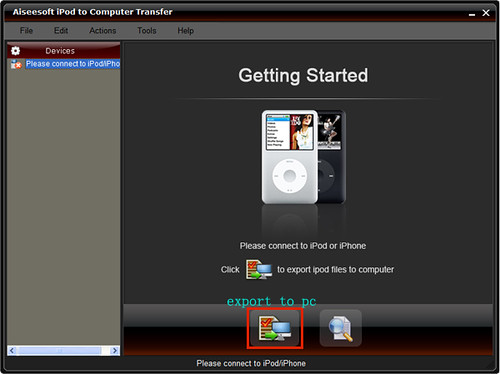
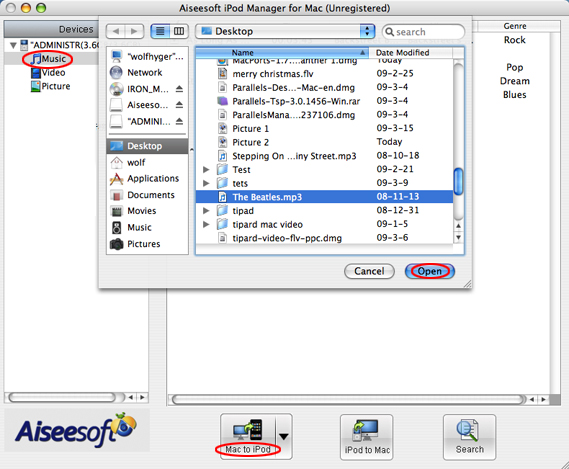
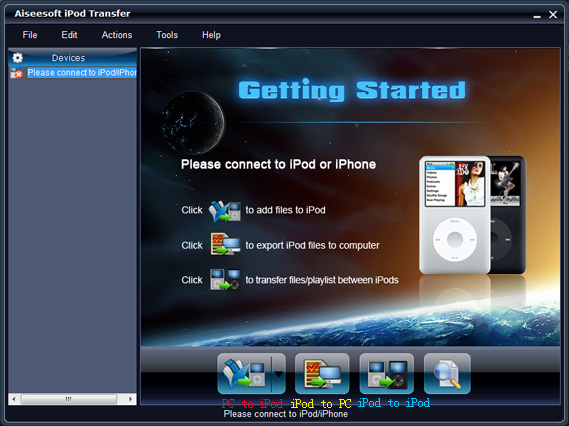
Part 3. How to transfer your songs and videos bewteen iPod and computer/iPodFirst, Click “iPod Transfer” to run
Aiseesoft iPod TransferClick “Computer to iPod” button, it will allow you to transfer songs and videos from your computer to iPod easily.
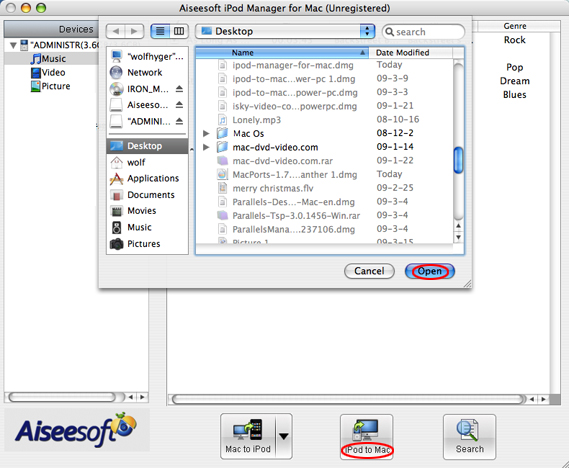
Click “iPod to Computer” button, it will allow you to backup your songs and videos from iPod to your computer.
Click “iPod to iPod” button, it will allow you to transfer songs and videos from one iPod to another iPod dirrectly.
Part 4. How to make your own iPhone ringtone for freeDownload Aiseesoft
iPhone Ringtone Maker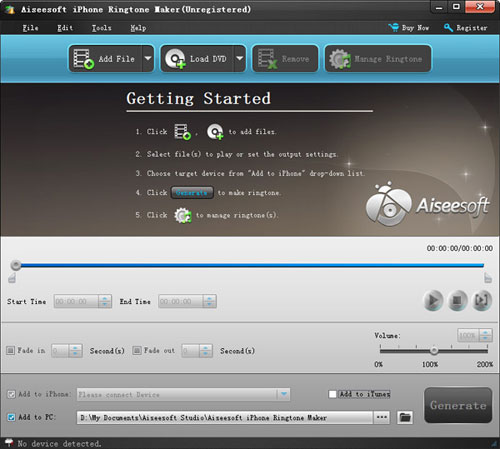 Step 1
: Click “Browse” on the right side of "Input File" to import the file that you want to make ringtone from it.
Step 2: Play it and listen the music to find the segment that you want to use it as ringtone. Then drag and click the start & end slider to set your wanted segment, or type the start & end time in the corresponding text box directly to get the exact segment. You also can pre-listen the converted audio before generate.
Step 3: Click “Browse” on the right side of "Local Output Folder" to choose the output destination.
Step 4: Check "Export to iPhone" option, the converted ringtone will be load to your iPhone directly.
Step 5: After all the settings are finished, click “Generate” to begin making your own iPhone ringtone.
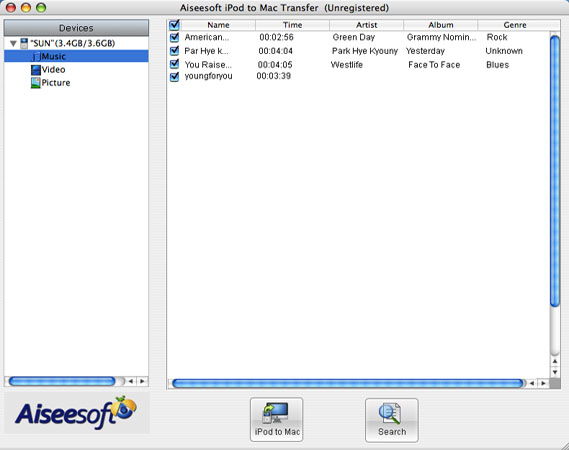
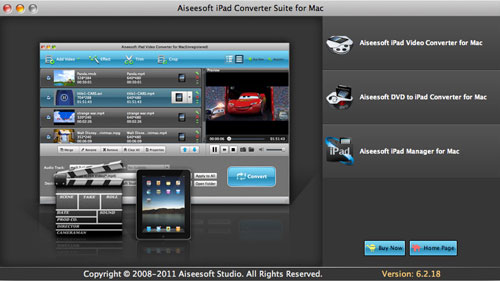
If you are a Mac user, I recommend you Aiseesoft
DVD Software Toolkit for Macit has the same functions as the windows one. You can use it easy rip your DVD, convert your videos, transfer your iPod songs and videos bewteen iPod and your Mac and also make your own ringtone.